Warnings[]
Spoilers ahead[]
The page is divided according to the several parts the game consists of. It contains information and pictures about the levels (nights) and in between (as well as the Challenge Chamber), the objectives you have to complete when in the Hotel, after the previous and before the next night. It is the easiest way to organize it, without visitors reading spoilers by accident. Choose the part you need to view by clicking the corresponding title on the top of the page.
Pictures[]
Before looking at the pictures, keep in mind that:
• These are screenshots from a horror game and can make the viewer feel uneasy, or even disturb them.
• Most pictures have higher brightness than normal, in order to better reveal the objects / characters of interest, for this wiki only. You are NOT supposed to be able to see this far and so well when actually playing the game!
Click on the pictures to view them.
Introduction Dungeon (Night 0)[]
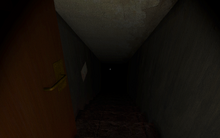
Upon starting a new game, you begin by falling down from an elevator and ending up in a dungeon immediately. This is a tutorial level, to help you familiarize yourself with the basic mechanics of the game. The dungeon is very small, containing only 2 to 4 small chambers (rooms) and some hallways. No enemies can be encountered and no traps can kill you. The Ghost Girl doesn’t appear either. The only traps available are guillotines, but they there to scare you only. Occasionally, steam may suddenly come out of pipes, but it is completely harmless.
Objectives:
- Find and flip the switch.
- Find the Exit.
- No Optional Newspaper to collect in this dungeon. There is one in each of the rest of the levels.
After Night 0 (Beginning of Night 1)[]

This is how Room 307 looks like. The brightness is higher than normal to reveal the room for the wiki. You aren't supposed to see this far!
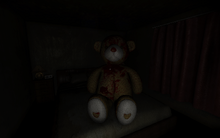
You wake up in Room 307 of the Hotel. Exit your room and you will be in the Hotel corridor. On your left you can find a chair with a teddy bear sitting on it and behind the chair, a destroyed painting of Mary. There's not much to do, as all doors are locked and the only objective is to walk out of the room and use the elevator at the end of the corridor. Feel free to explore the area before eventually going to the elevator. When you step into it, the door will close and the elevator will start moving down, leading you to the Basement of the Hotel, or more specifically, Night 1.
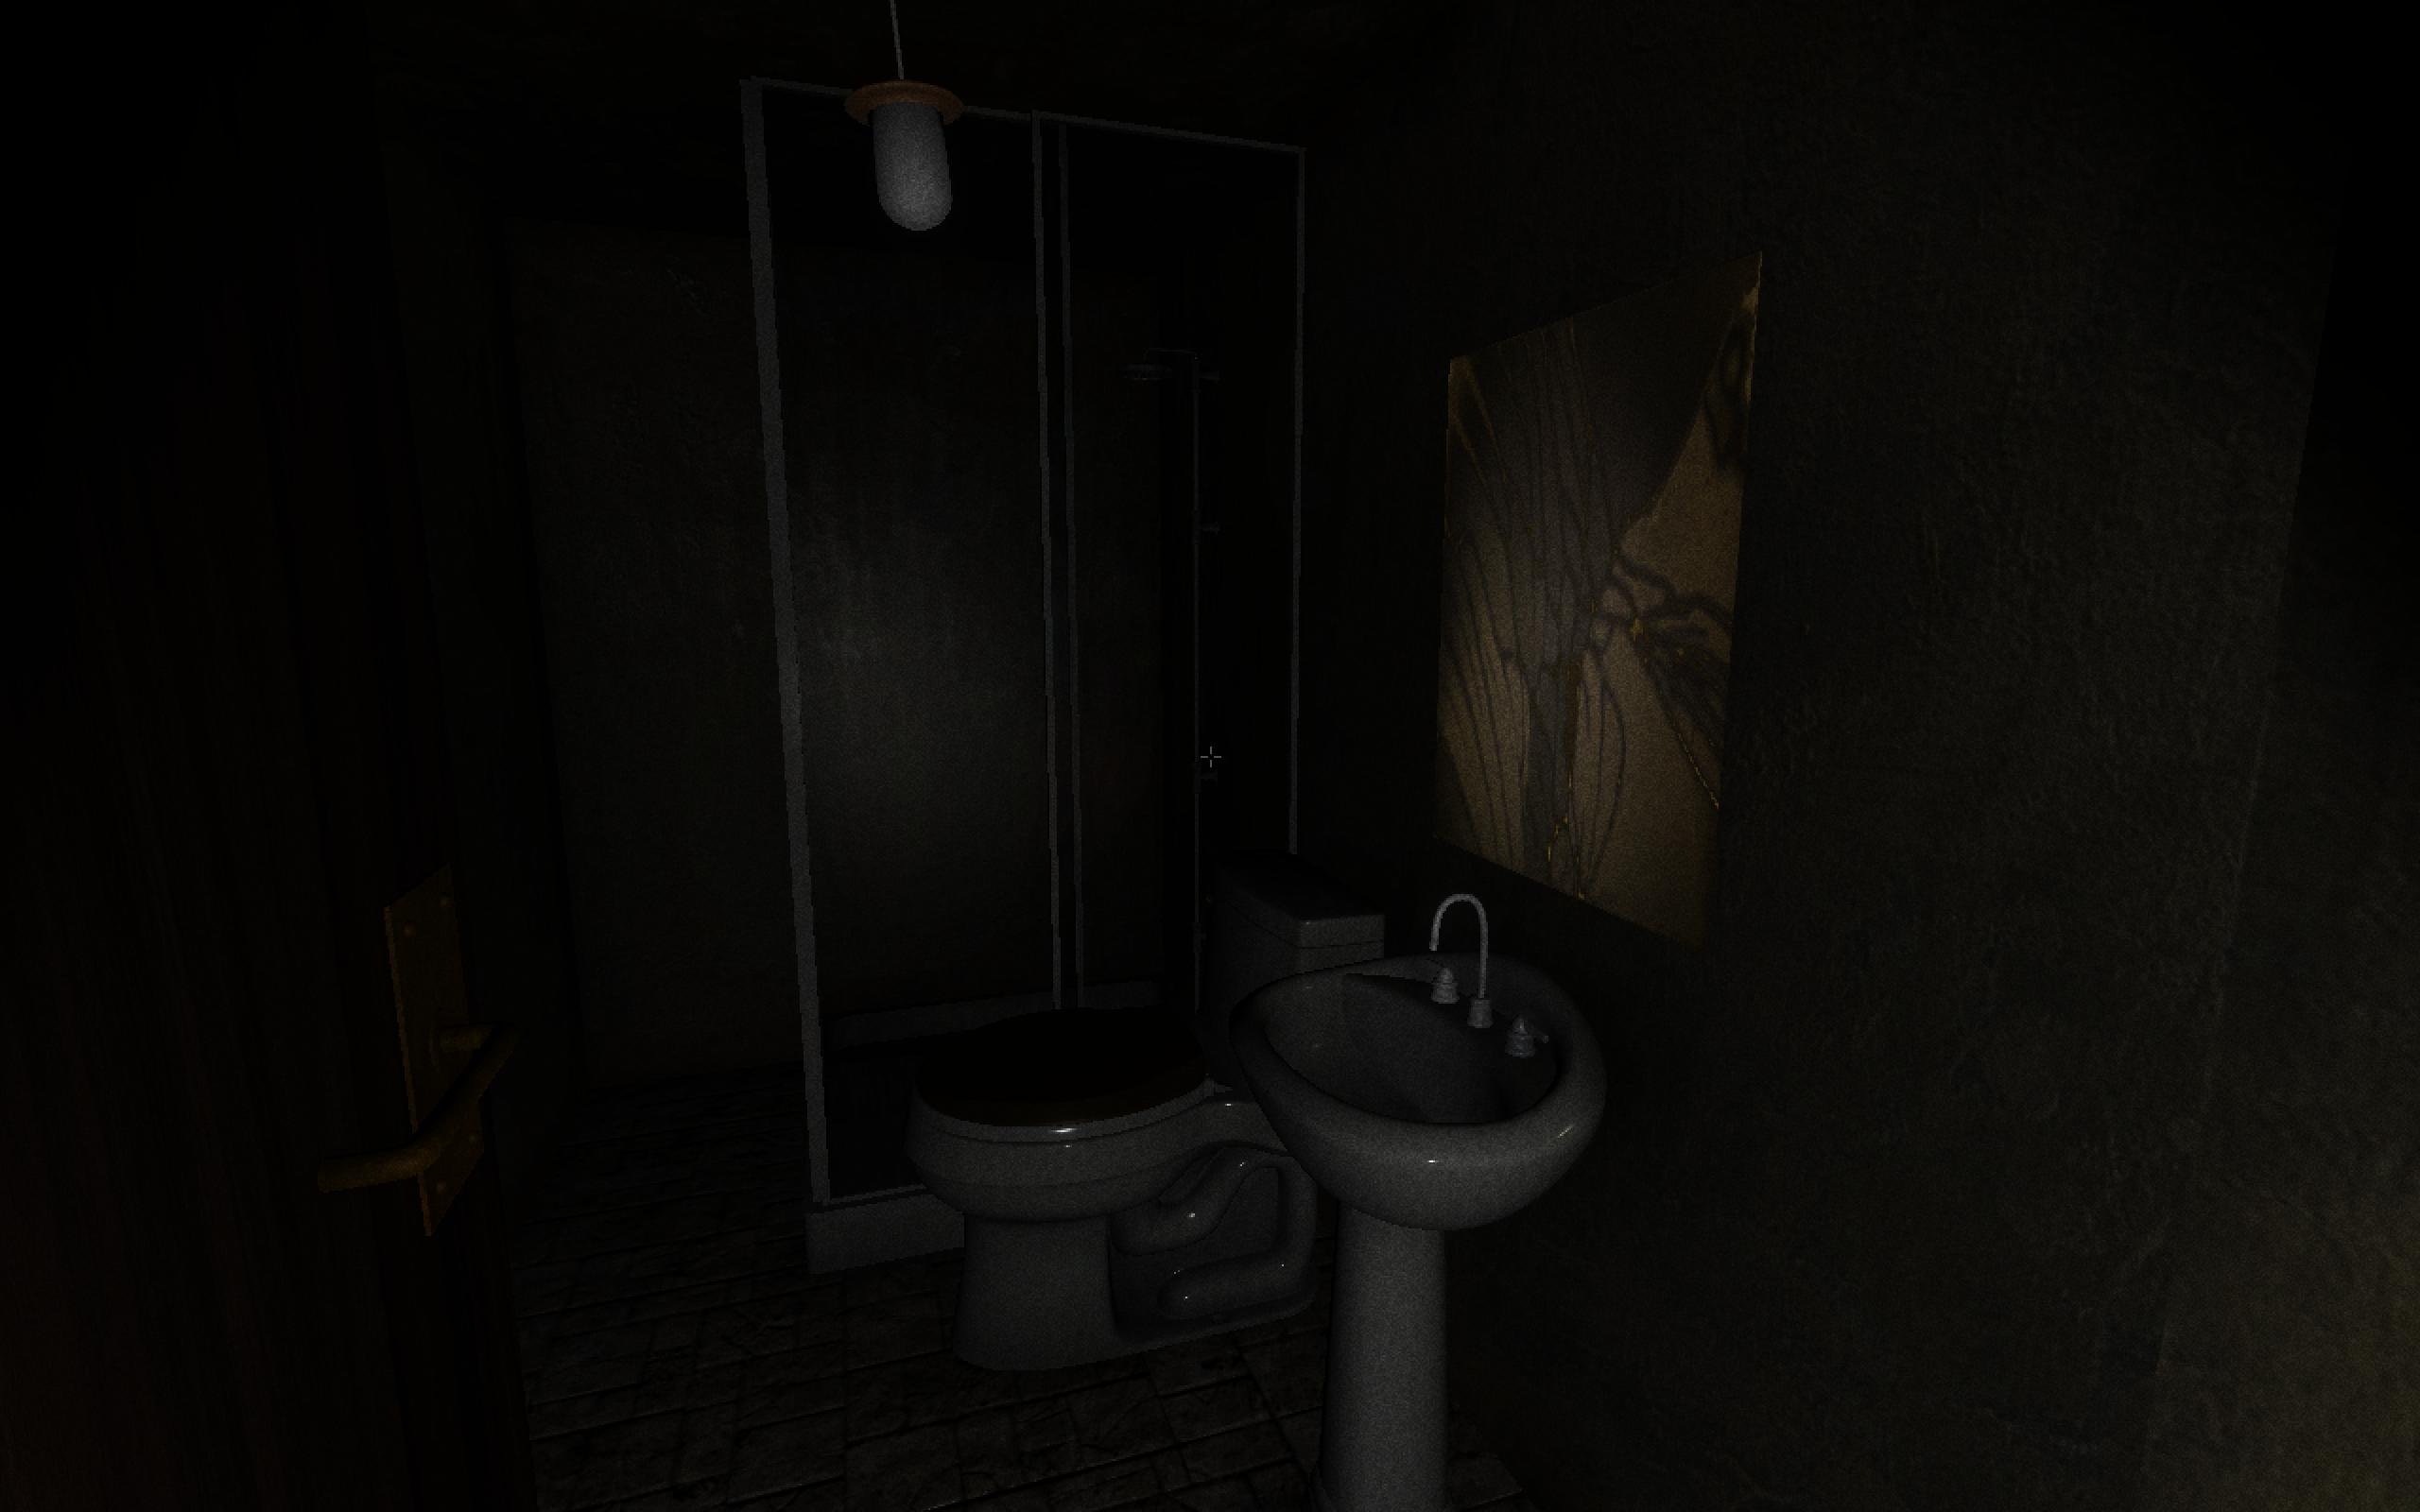
This is the bathroom of Room 307.

The Hotel
The Hotel Elevator
Basement 1 / Night 1[]
The actual first level of the game. The dungeon walls and floors look the same as before, but the dungeon is significantly bigger and it will take more time to explore. Occasionally, some jumpscares featuring the Ghost Girl and some additional ones, including Black Screen hallucinations, or various sound effects will occur. Traps can also be found in some chambers (Cogs, Fireplaces, Bottomless Pits, Spiked Floor, Metal Fire Floor). There might be paintings hanging on walls in the dungeon, but this rarely happens in Night 1. There are only few Skeletons, which usually won’t do anything, unless you spark a light when near them. Mary can also be encountered and is the main enemy to be on the look out for, although in Night 1, it takes quite a long time before she spawns, making it relatively easy for the player to complete Night 1 without ever encountering her. The Crawling Demon can occasionally be heard whispering, but doesn't appear in person until much later in Night 6.
Objectives:
- Find the key to Room 313 (required).
- Find and flip the switch.
- Find the Exit.
- An Optional Newspaper can also be collected.
There’s no permadeath in Night 1. Upon losing, you will be back in Room 307. Going to the elevator will lead you to the same level, but with a different map.
After Night 1 (Beginning of Night 2)[]
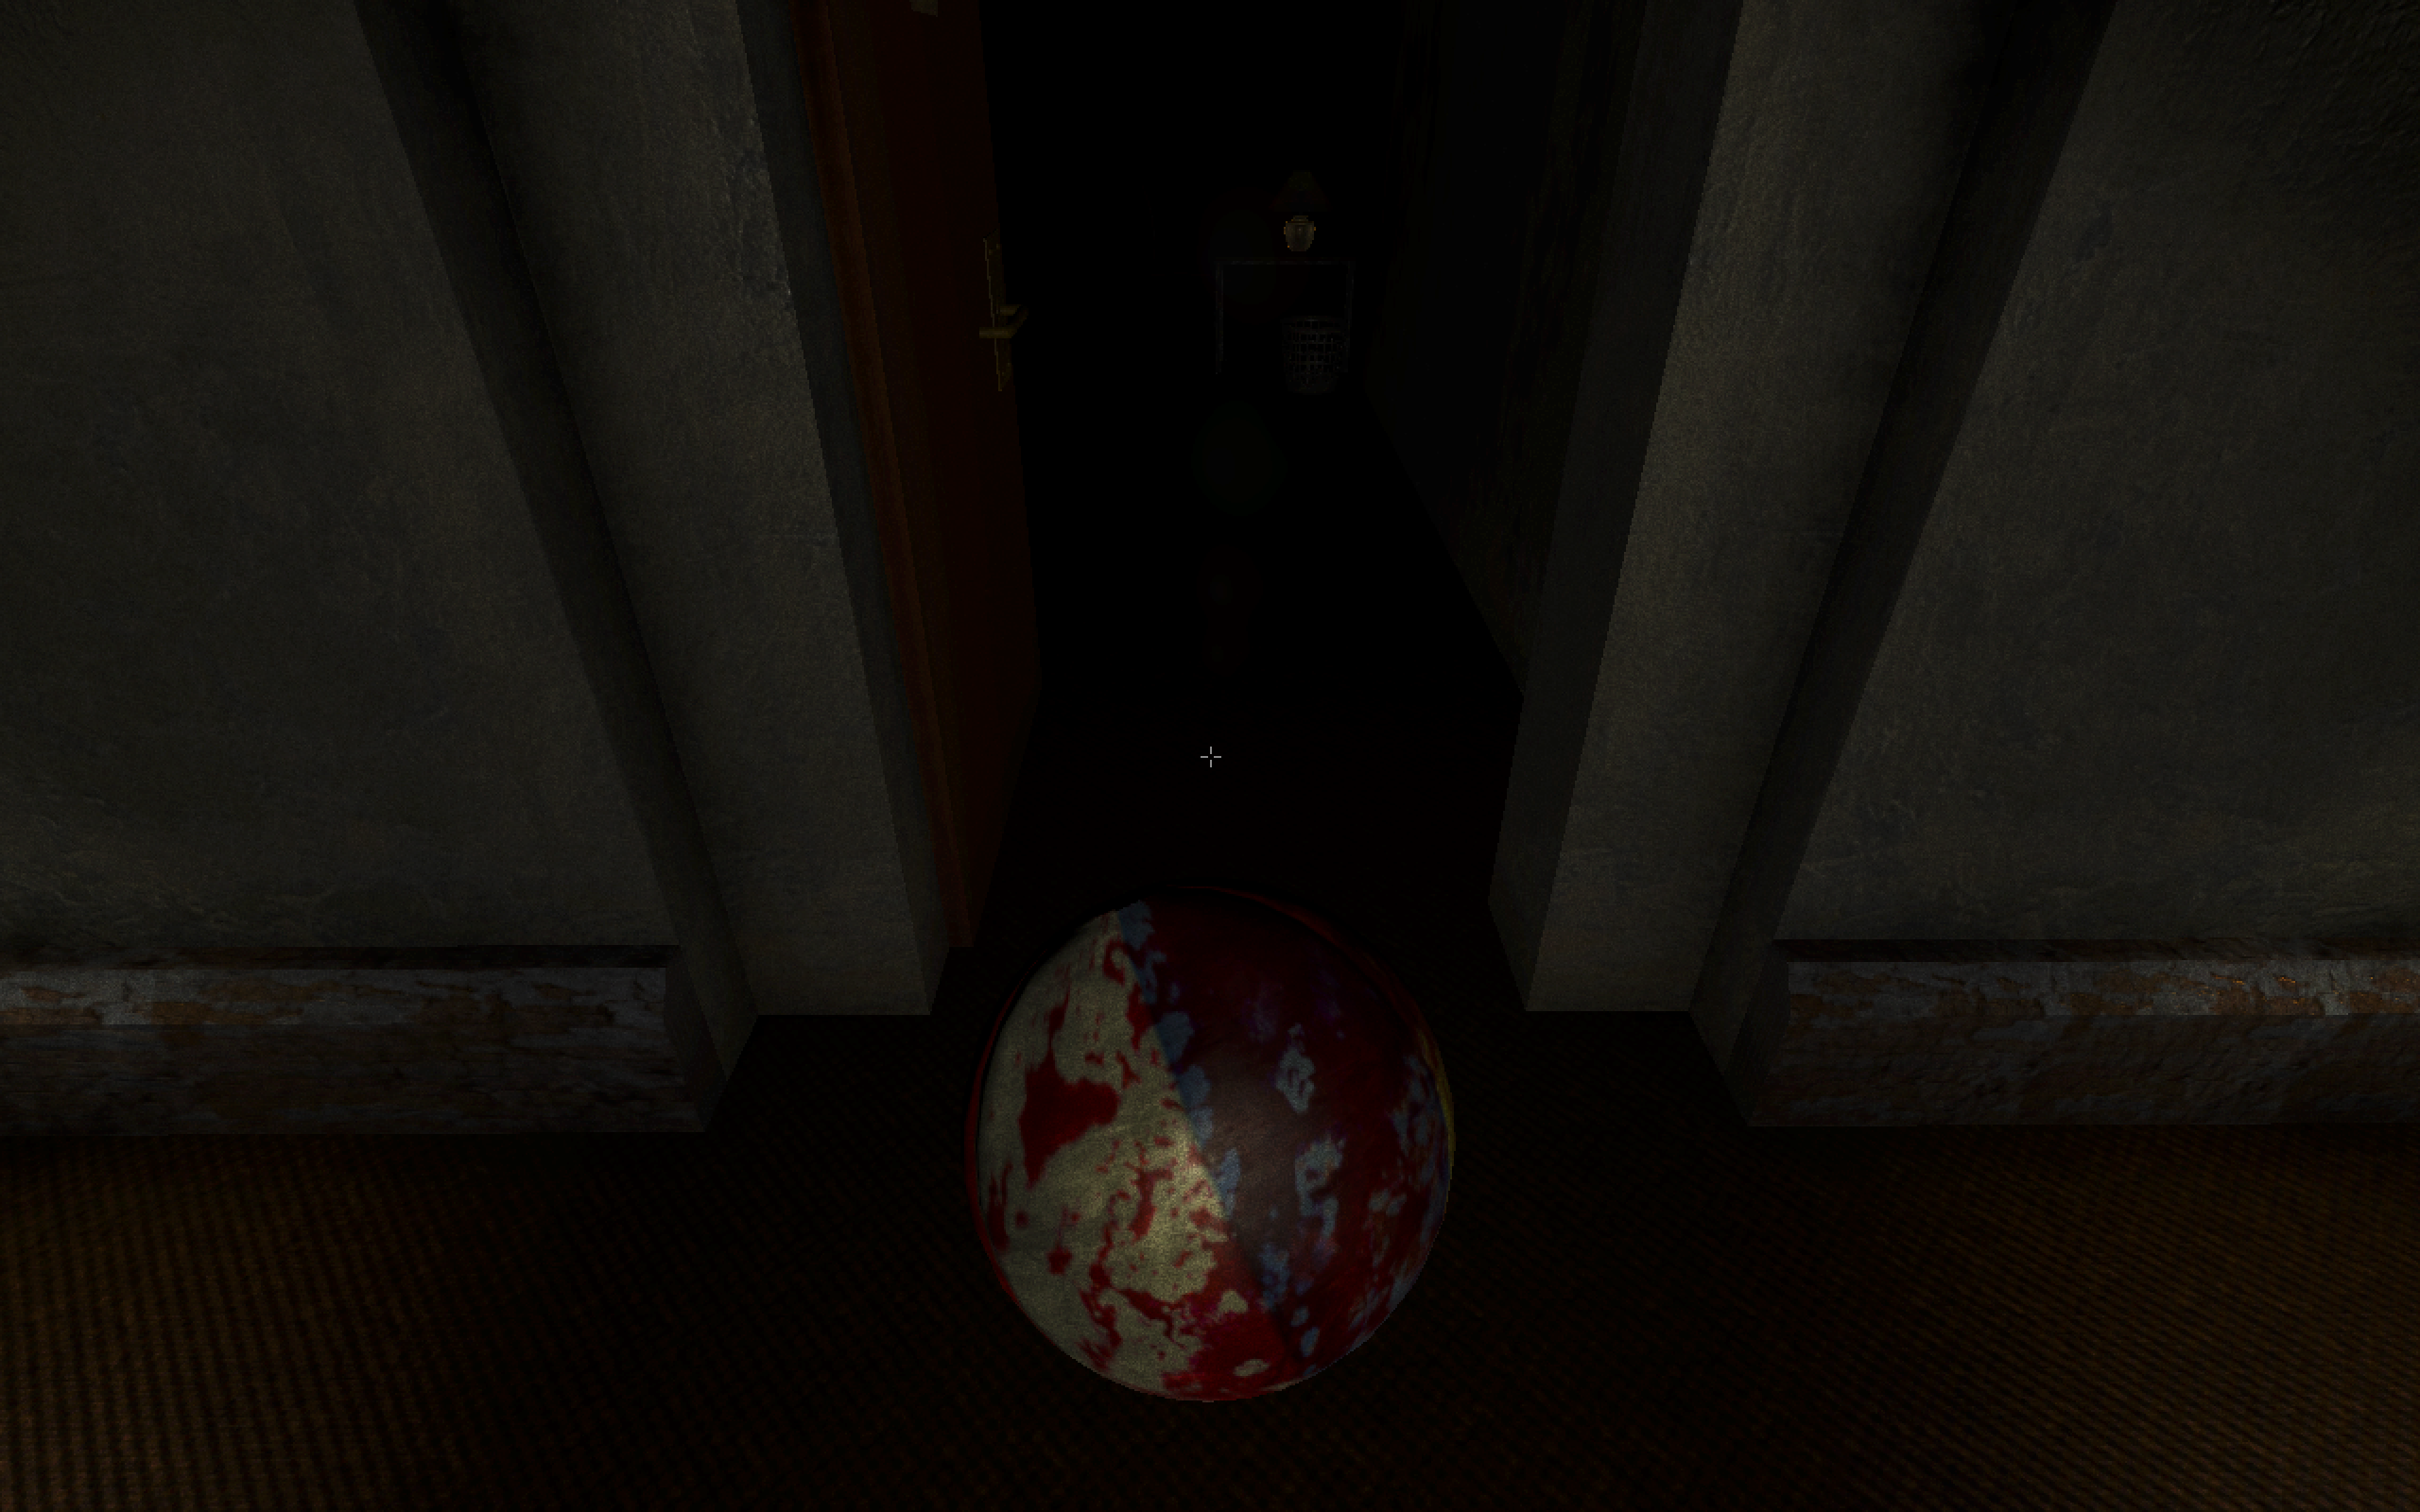


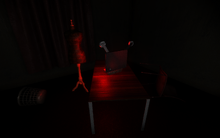
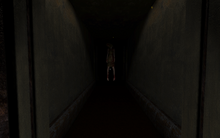
You wake up back in Room 307 of the Hotel. You have the key to Room 313. Look for the corresponding door and unlock it. Right after the door opens, a bloody beach ball will roll out of the room. A giant teddy bear can also be found sitting on the bed of the room. There is a little blood on the surface of the bear. Try turning on the radio if you want. While inside Room 313, someone can be heard mumbling some kind of melody, without actually singing. The bathroom door isn't closed completely. If you peek inside using that small gap, you can see the Ghost Girl behind the door, just like in the picture.
She is the one mumbling. If you wait inside Room 313 for a while, she will stop mumbling, but she will still be inside the bathroom. After exiting the room, go to the elevator. When you reach the junction to go right, the Ghost Girl will suddenly appear, running towards the elevator, laughing while doing so. This is just a scripted jumpscare. Continue normally and enter the elevator to proceed to the next level. The elevator will be moving down.
Basement 2 / Night 2[]
The walls are different. Instead of dark green rocks, the walls are made of brown bricks. This dungeon is a little bigger than the previous one. More skeletons can now be found and they are much more aggressive than before. Many of them can follow you when you are not looking, or when sparking a light. It’s very likely to encounter Mary sooner than in the previous Night and it will take longer for her to give up chasing you. A few paintings might also be found.
Objectives:
- Find the key to Room 304 (Required).
- Find and flip the switch.
- Find the Exit.
- An Optional Newspaper can also be collected.
After Night 2 (Beginning of Night 3)[]

You wake up back in Room 307. This time you have the key to Room 304. Before you exit Room 307, someone will knock on your door. When you open it, a toy train will be left outside your room. It is completely harmless.

Film projector
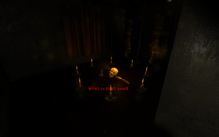
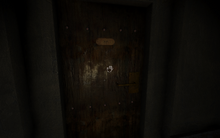
Continue to find Room 304. It's very close to Room 307. After exiting Room 307, the door to Room 306 will open on its own. If you enter the room, you will see a film projector inside, but there's no film to insert to watch. This room will be useful later in the game, if you collect the film reels in Nights 4 an 5. Now go to room 304, which is right next to 306 and unlock the door. Inside lie many lit candles on the floor, with some bones in the center. Some sacrifice happened here... "PAVOR NOCTURNUS" is written several times on one of the walls. On the other wall, a pentagram can be seen. Just behind the candles, some bodies can be seen hanging, probably waiting to be sacrificed. If you stay there for a while, one of the bodies will wiggle a little, a sign that he's not dead yet. Unfortunately, there's nothing you can do about them...
Exit Room 304 and go to the elevator to progress to the next level.

Inside Room 304

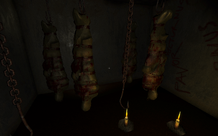
Hanging bodies in Room 304.
Basement 3 / Night 3[]
The walls have changed again, making the dungeon look a little more like the inside of an ancient pyramid. It’s about as big as the previous dungeon. This is where the game begins to go much further than the first Dungeon Nightmares game did, as Night 3 introduces 2 unique traps and a new enemy, the Tortured Soul. Chewing Doors and Swinging Axes are these new traps, which are located in hallways, unlike in previous Nights, where traps could only be found in the center of chambers. Older traps can still be found in chambers. Skeletons are as aggressive as they were in Night 2 and the same goes for Mary. A special hallucination might occur at some point while playing this night, which is the “Endless Hallway 2.0” hallucination (for information about this, visit Jumpscares and Hallucinations).
Objectives:
- Find the key to Room 311 (Required).
- Find and flip the switch.
- Find the Exit.
- An Optional Newspaper can also be collected.
After Night 3 (Beginning of Night 4)[]

Lights out!

Mary behind bars

Room 311

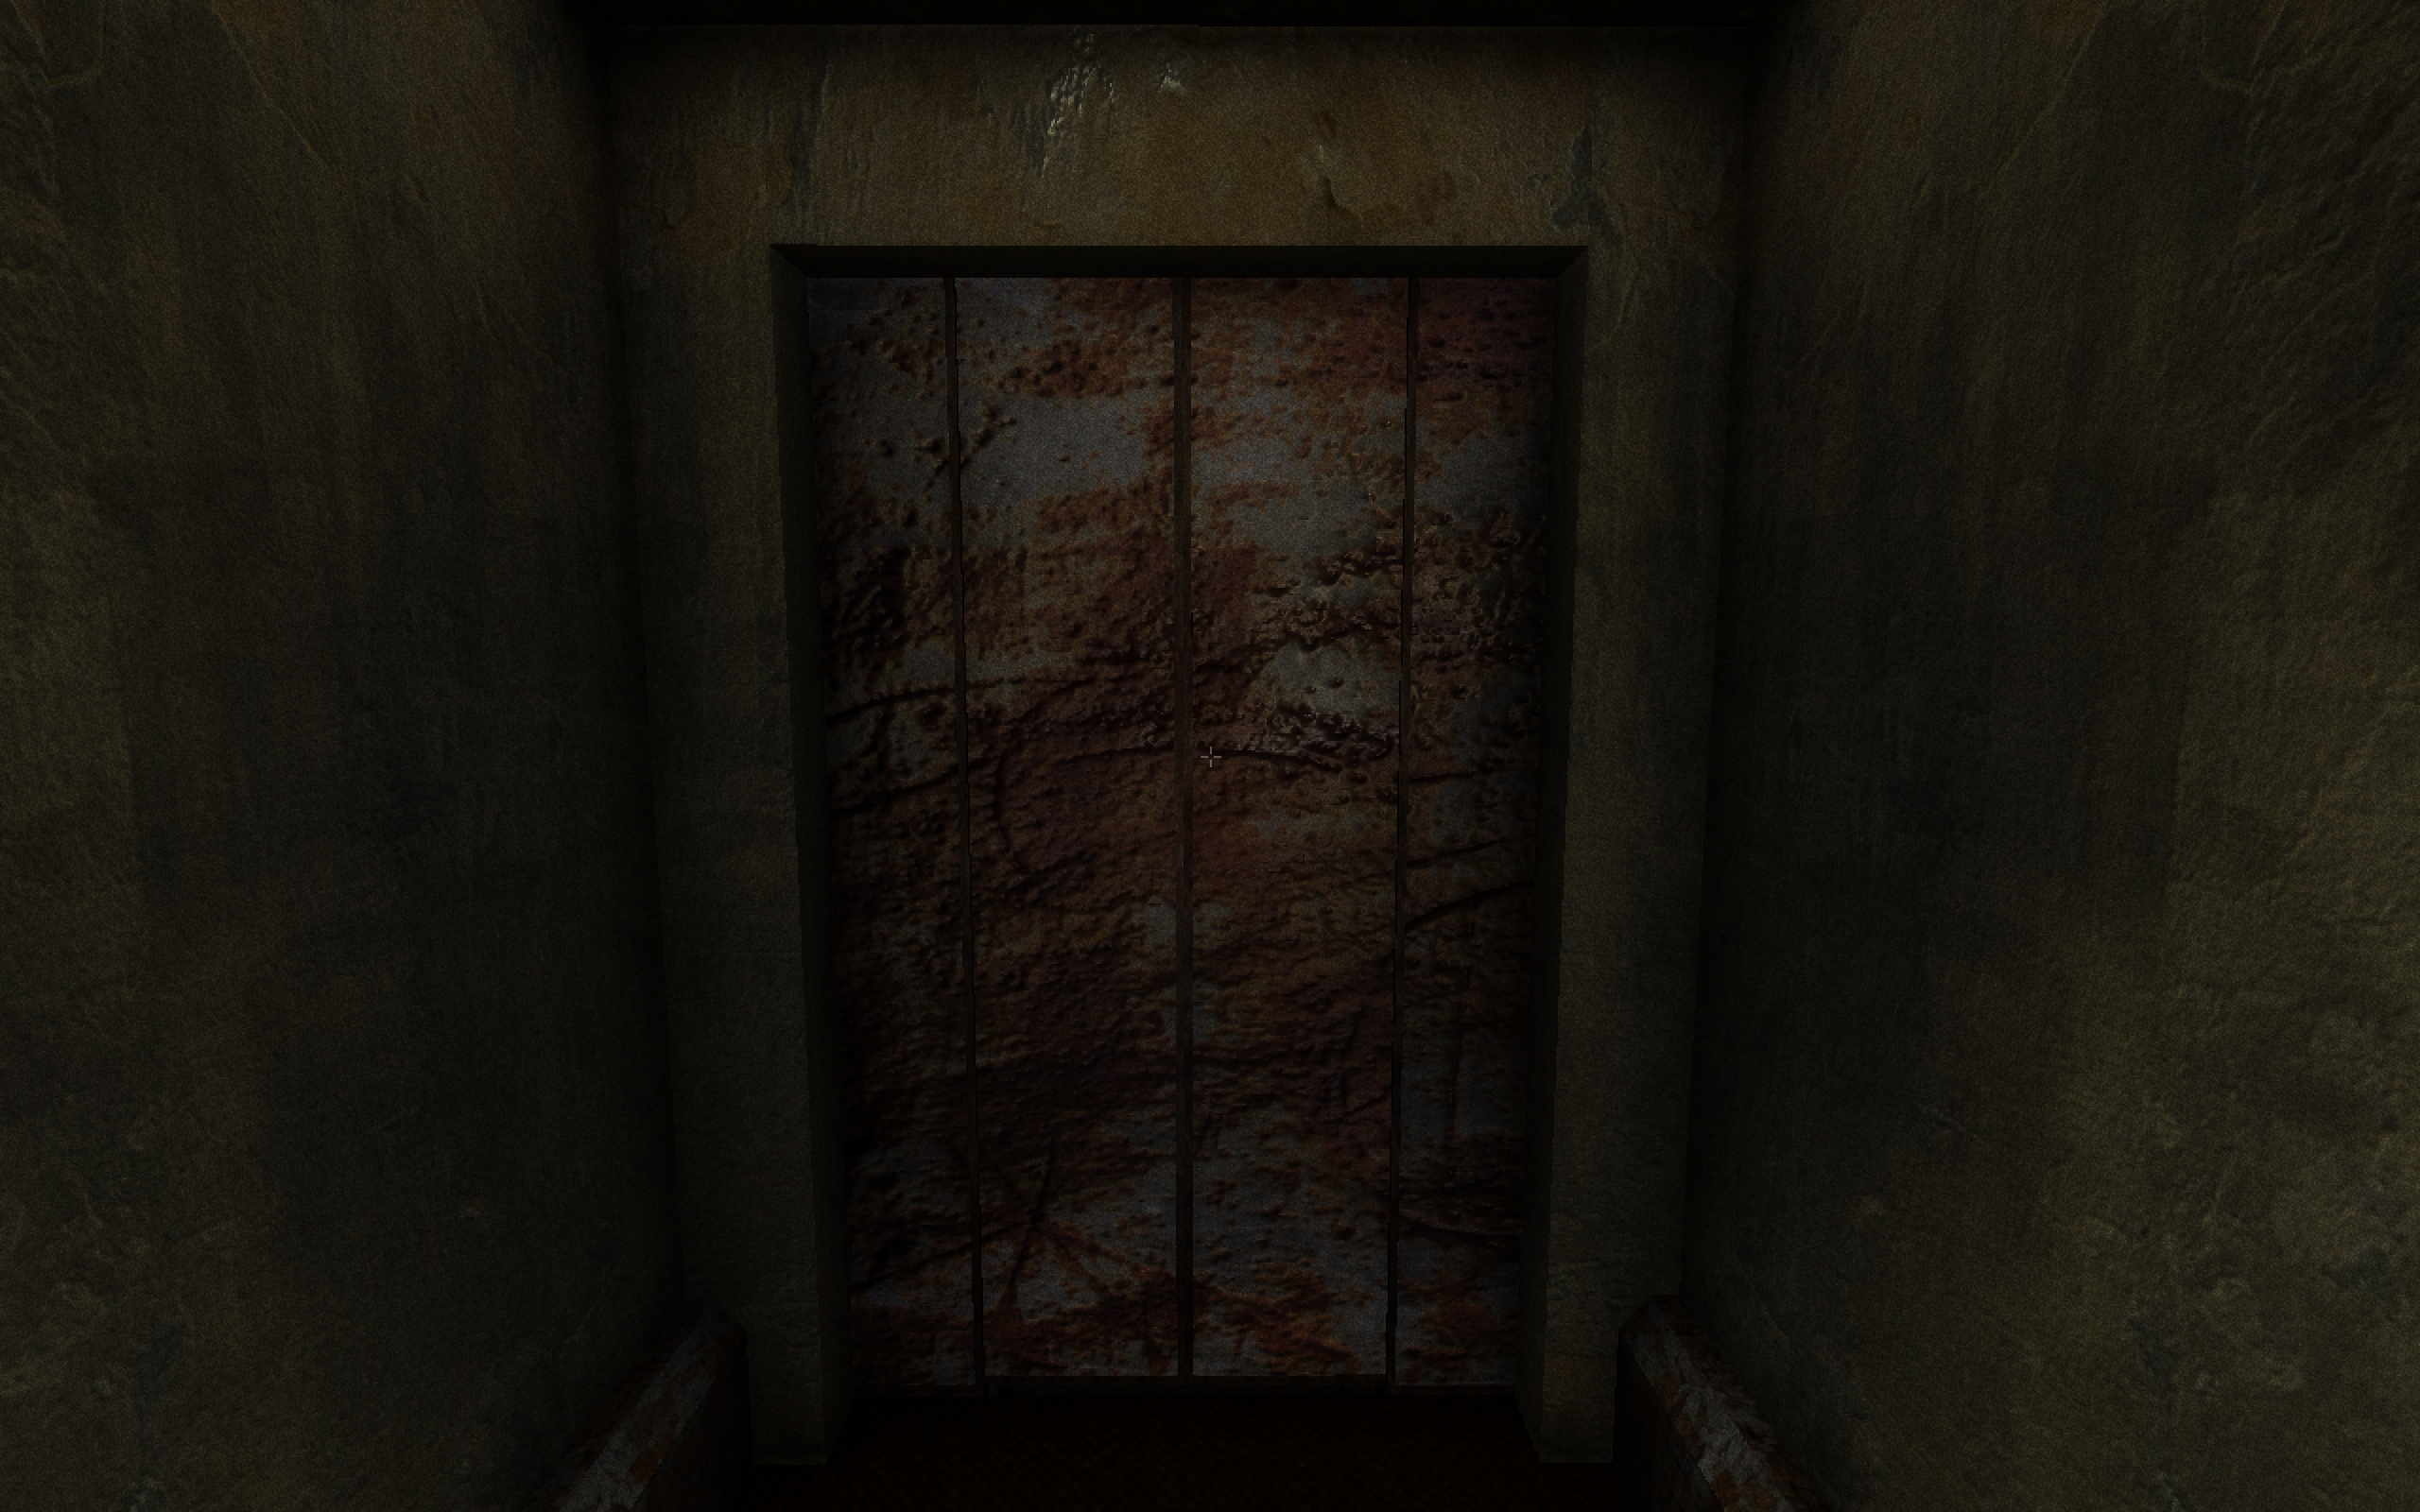
Staff Room door
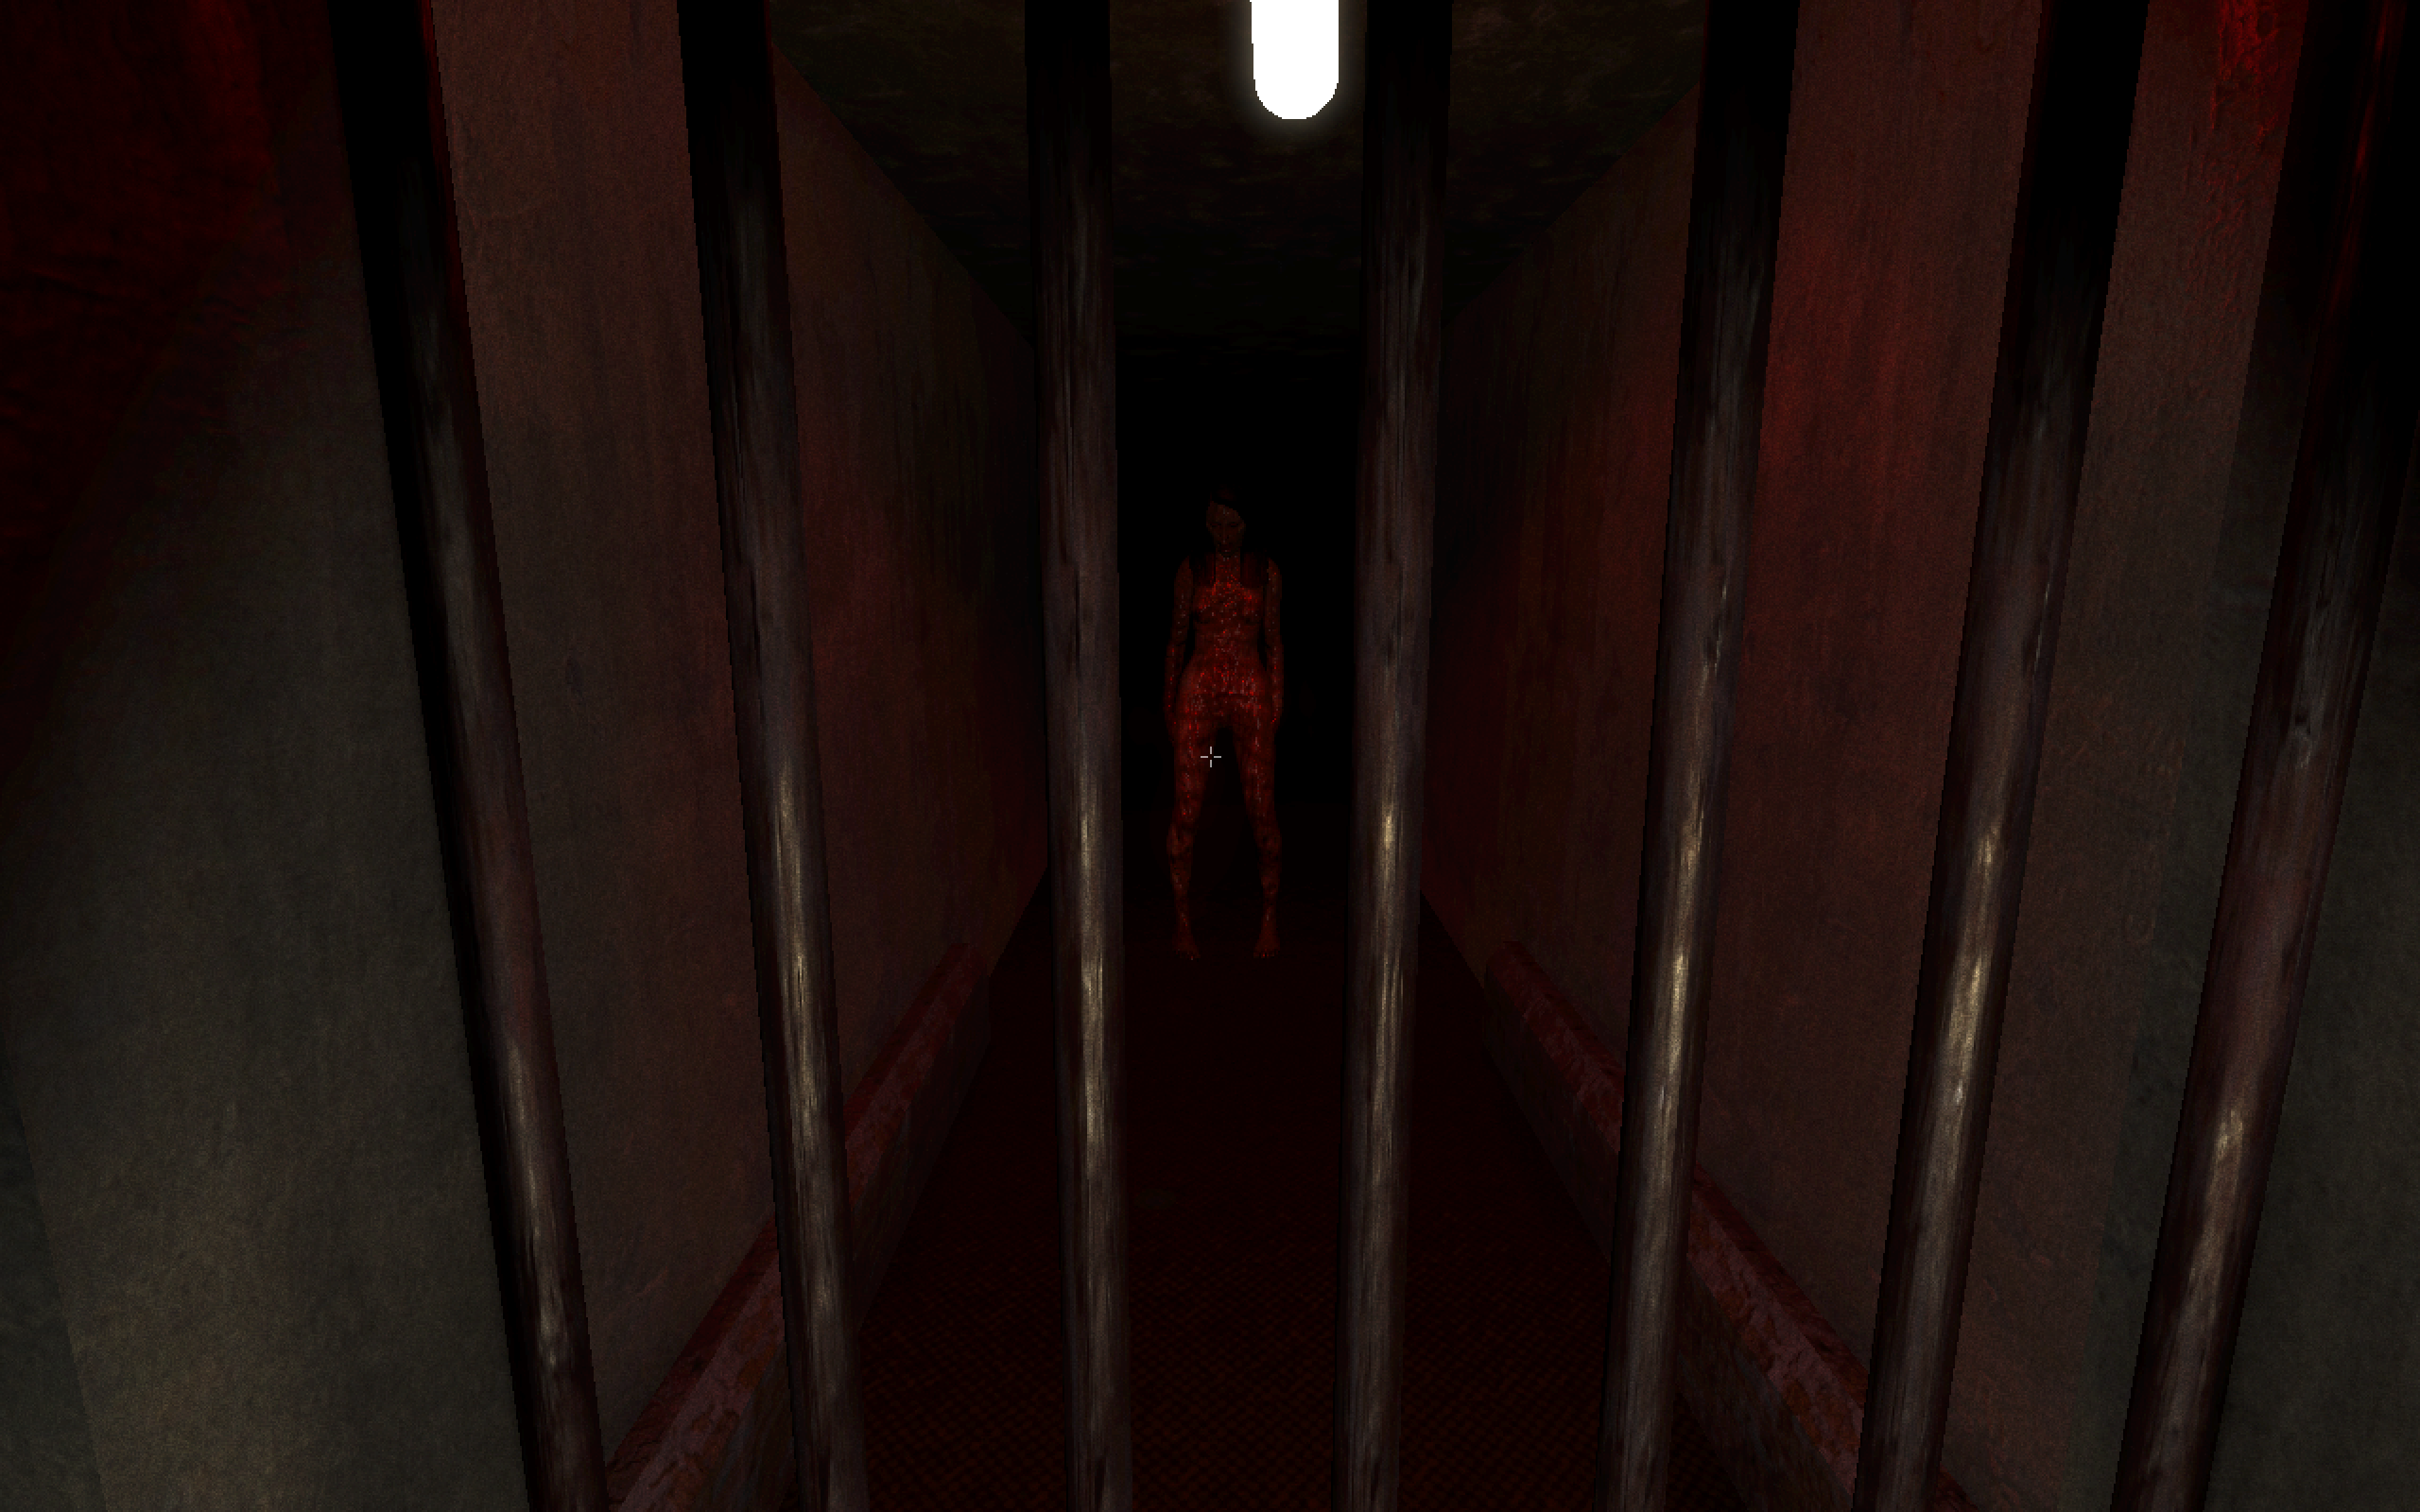
You wake up back in Room 307. This time you have the key to Room 311. After exiting your room and you walk for a few meters, all lights suddenly go out. Continue normally to find room 311. When you reach the junction, go left and you will find Room 311 on the end of that corridor, close to the bars. If you look beyond the bars, you can see Mary, just standing there and watching you. She can't harm you. Open the door to Room 311. Technically it's not a room. There are stairs going deeper and deeper. While descending the stairs, some kid drawings can be seen hanging on the walls left and right. The kid who drew these seems to be a girl 13 years old, telling a story of her house burnt down when she was a baby (2 months old), in one picture depicting another girl burning alive (probably her older sister). Continue down the stairs until you reach some bars. There's a skeleton on the floor there, holding the Staff Room key (it will automatically be obtained). According to a theory, this could be the Explorer with Unknown Motives himself. Turn back and go back upstairs. While going back up, someone can he heard running above where you are. This is just a jumpscare, which can also randomly occur in dungeons. Once you finally exit Room 311, when you reach the junction, go straight. The Staff Room is at the end of that corridor. Open the door and go inside, until you reach a switch, identical to the Elevator Switches found in dungeons. Flip it to progress. Once you flip it, the lights will all be blown. However, as your character speculates in the on-screen messages that appear, the elevator works just fine. Exit the Staff Room and once you reach the junction, turn right and use the elevator to progress to the next level. The elevator will be going up.
Burning 4th Floor / Night 4[]

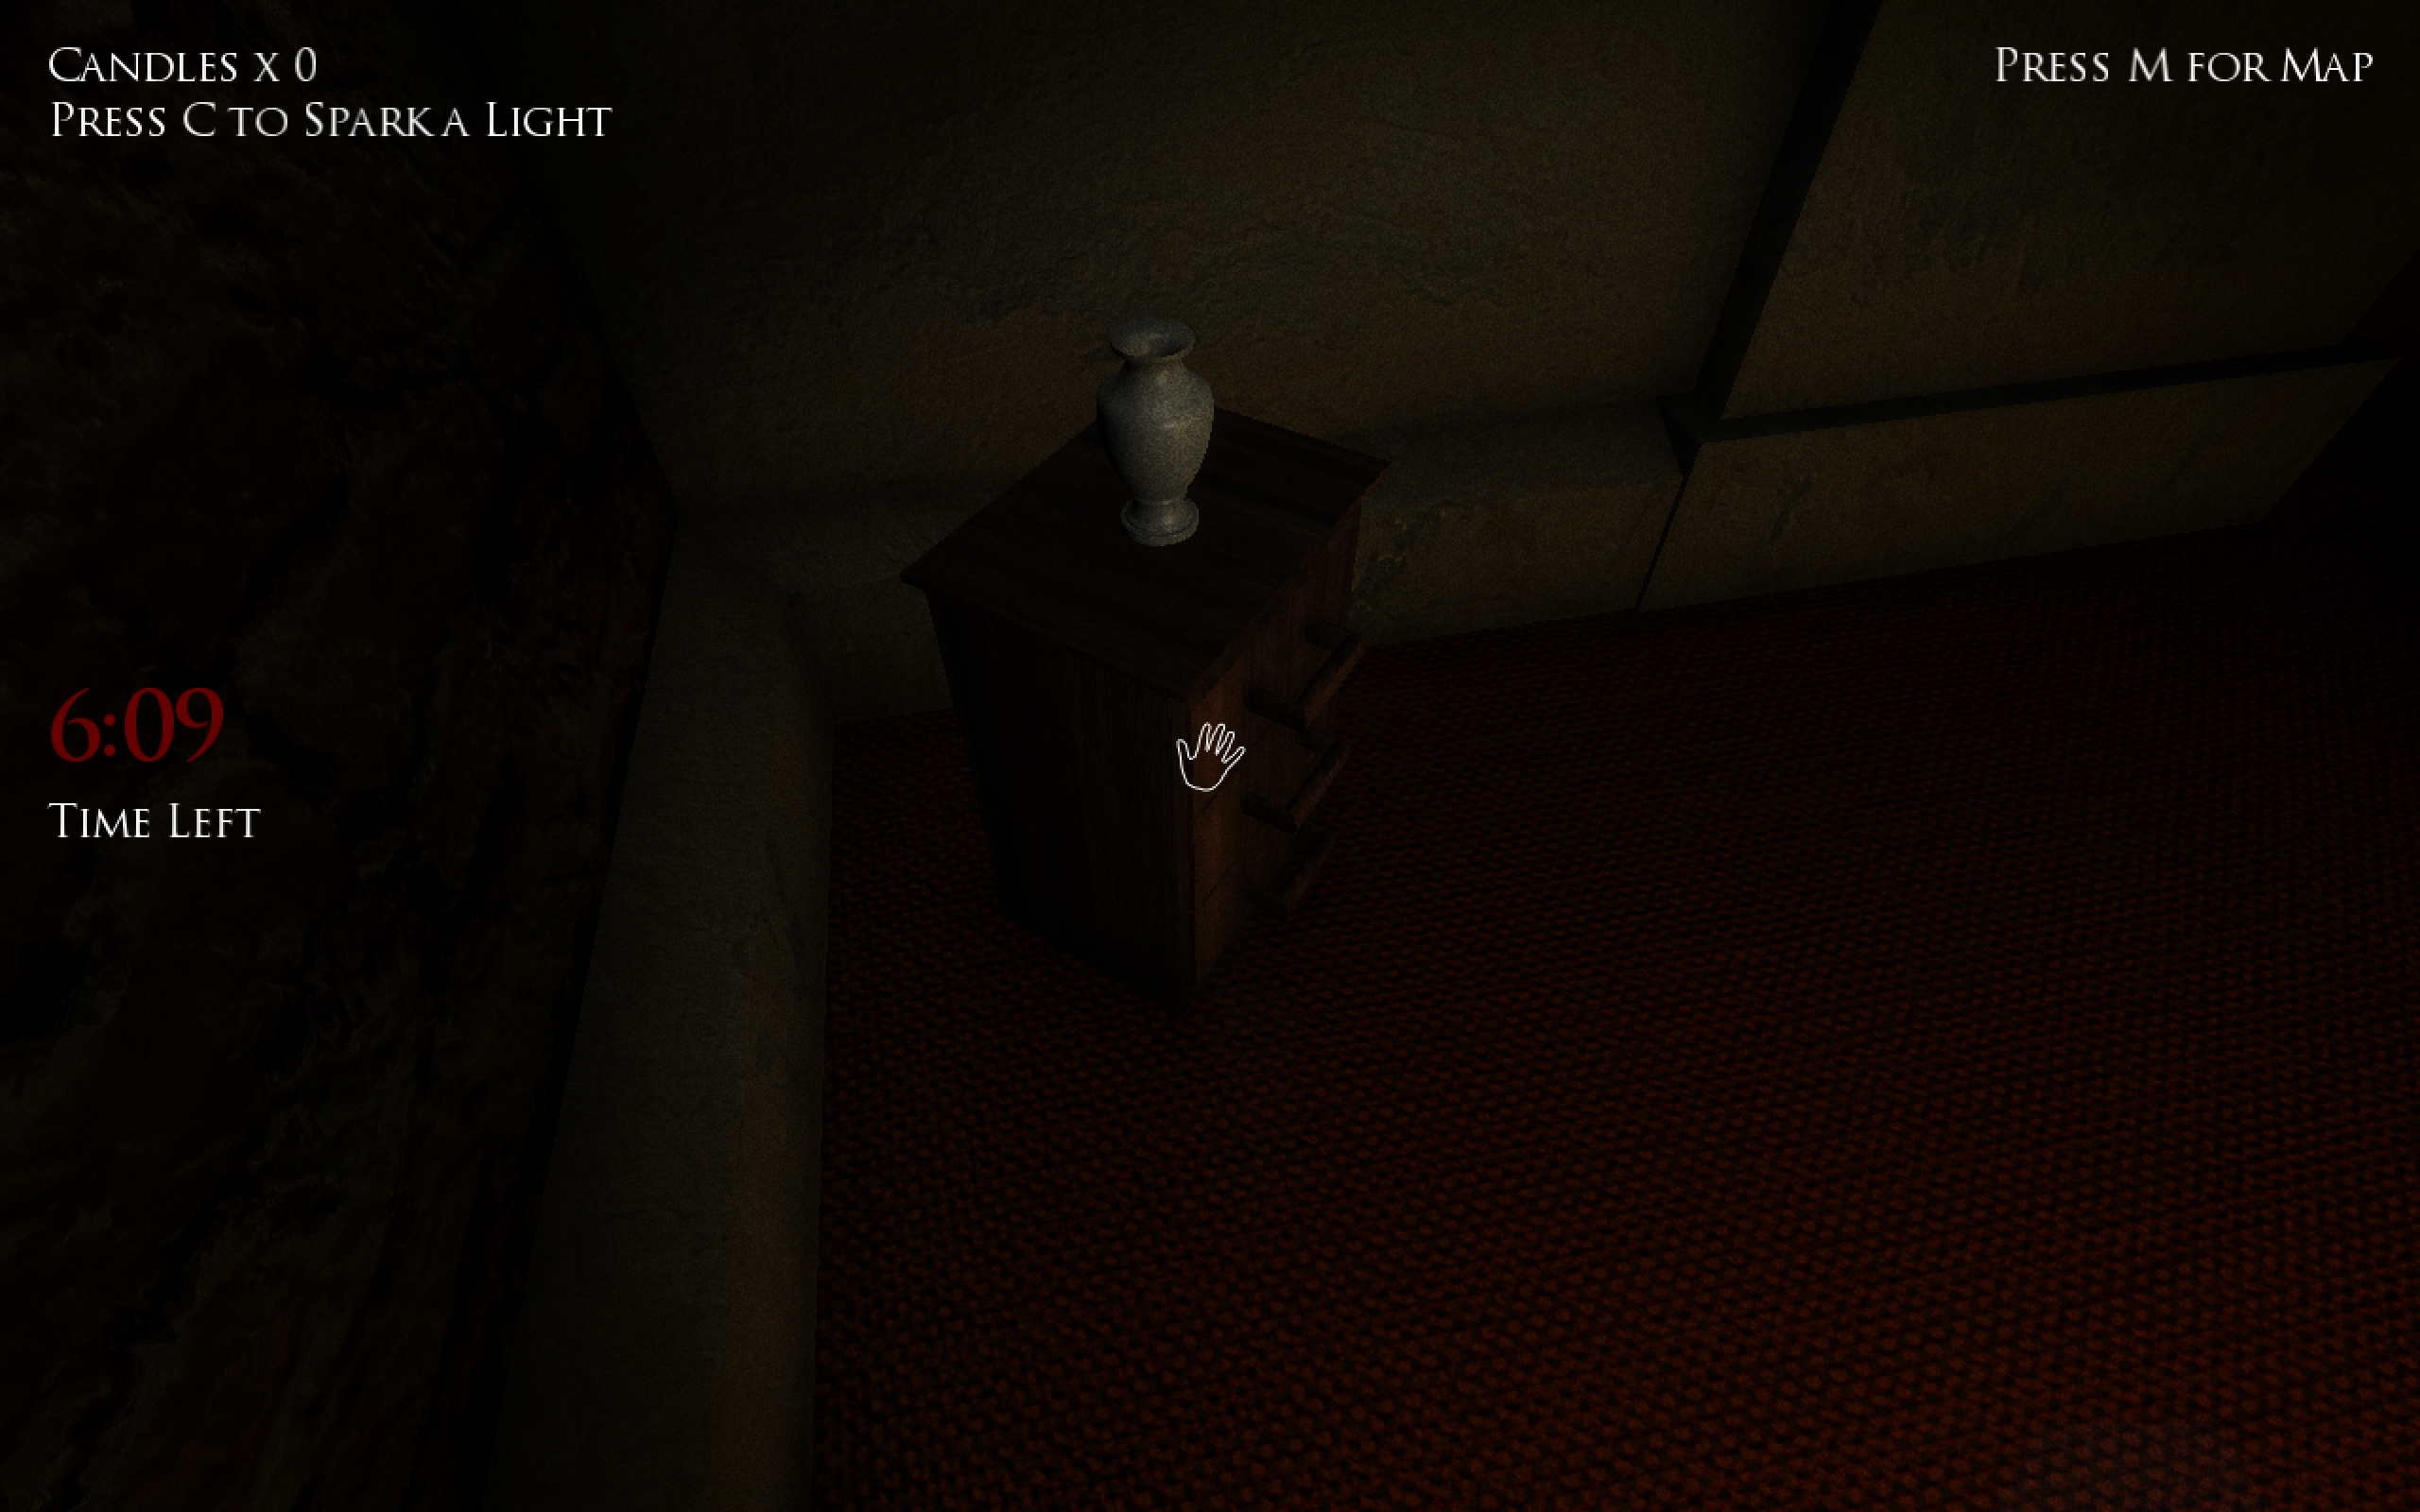
This is a chest of drawers, furniture you can find only in Nights 4 and 5. Open the drawers and look inside. You may find candles, or even the film reel.

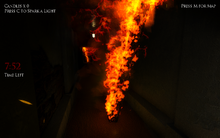
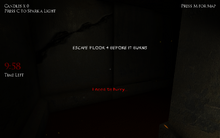
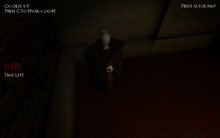
This time, the environment is completely different and your strategies need to be altered. This is a hotel floor, just like the Hotel and all doors read “Room 307”, like your room, but that hotel floor is on fire. Wooden pillars and mattresses have caught fire and you shouldn’t get too close to them, as fire will harm you. The dungeon is full of corridors and the rooms are much smaller than the chambers of the previous dungeons. However, the most important difference between this and the previous dungeons is the ten-minute-time limit!
Objectives:
- Find and flip the switch.
- Find and collect the film reel (Optional).
- Fine the Exit.
- An Optional Newspaper can also be collected.
The film reel can either be found inside a chest, on top of a drawer, or inside a drawer. The optional newspaper can be found on a cement pillar, a wooden pillar, or even a burning wooden pillar. Candles can be found on beds, in chests and inside/on top of drawers. There are no traps like the previous dungeons (except for the guillotines).
Night 4 introduces 2 more new enemies, the Dark Skeleton and Asmodeus. The rest of the enemies (Mary, the Tortured Soul, Skeletons) can also be encountered. Skeletons are rare and can only be found standing still in dead ends. However, they are very aggressive. Chances are that if you have sparked your lighter at least once, you will find one of them far from a dead end, because he moved already. Asmodeus can only be found inside a chest and quite rarely in Night 4 specifically. There are also no paintings in Nights 4 and 5. Time is one more enemy. Each time a minute passes, a scary sound effect plays, reminding you that you are running on borrowed time. When time runs out, fire appears, just like during the “Burning Alive 2.0” hallucination and the game ends in death. However, there’s no permandeath when losing the game due to Time-Over, which means you will be back in Room 307 and not in the door selection room with a 50% chance of Game-Over. So, if you don’t have much time left, don’t even think about using hazards to lose the game intentionally! Instead, use every last second, or just exit and restart the level! If you lose because due to Time-Over, you’ll still be able to play Night 4 again without losing your overall progress!
After Night 4 (Beginning of Night 5)[]

One of the non-crying paintings (Hi there! Looking creepy as always!)
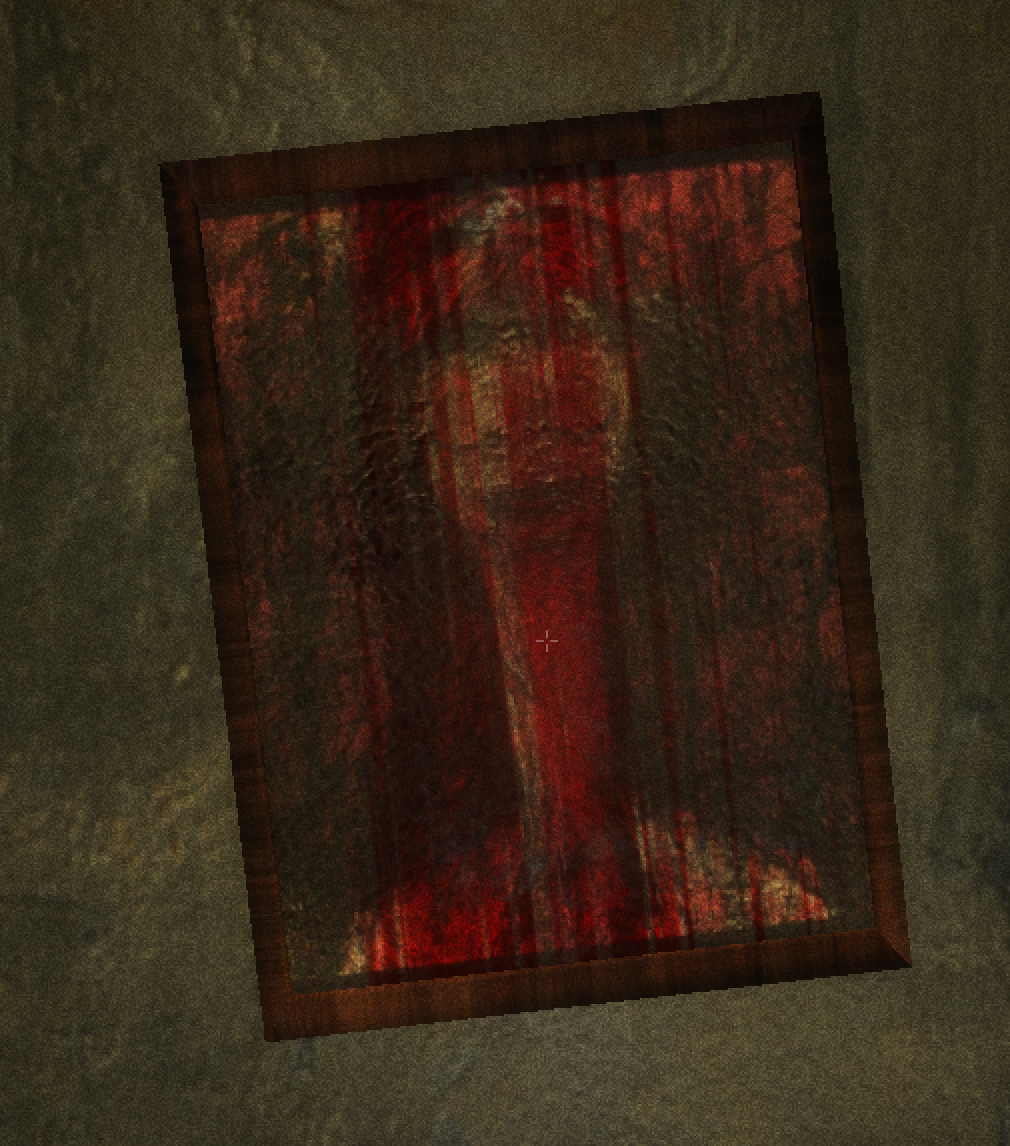

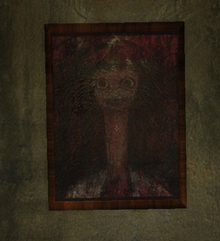
The only crying painting
You wake up back in Room 307. Exit your room. In the corridors, paintings of Mary have appeared, in which Mary has her eyes open, looking as disturbing as she can! One of them is full of blood and a young woman can be heard crying when near it, just like what happens when this painting is found in a dungeon. Unlike in dungeons though, you can safely examine the paintings and look at them as long as you want, they cannot harm you. Your objective is different, depending on whether you collected the film reel in Night 4, or not:
If you didn't collect the film reel in Night 4[]
After taking a look at the paintings, continue to the elevator to progress to the next level.
If you collected the film reel in Night 4[]
Enter Room 306 and watch the film. In the film, a burning house can be seen, which is probably the same house you saw in Mary's drawings in Room 311. When you are done watching, go to the elevator to progress to the next level.
When the elevator door opens, the Ghost Girl's bloody beach ball will be falling from above. The elevator will be going up again.

Burning 5th Floor / Night 5[]
Night 5 works exactly like Night 4, with some differences. This dungeon is much darker than the previous one, as all lamps are out. It’s much harder to see without using candles. The dungeon is a little bigger than the previous, so, try to find a balance between running and walking, in order to both conserve stamina and not to run out of time. Earthquakes are very common this time (only a jumpscare). The enemies are the same as in Night 4, with a slightly higher chance to encounter Asmodeus inside a chest. The objectives are identical to those of Night 4:
- Find and flip the switch.
- Find the film reel (Optional).
- Find the Exit.
- An Optional Newspaper can also be collected.
After Night 5 (Beginning of Night 6)[]

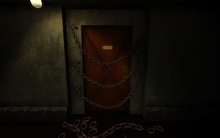
Room 308 locked with chains
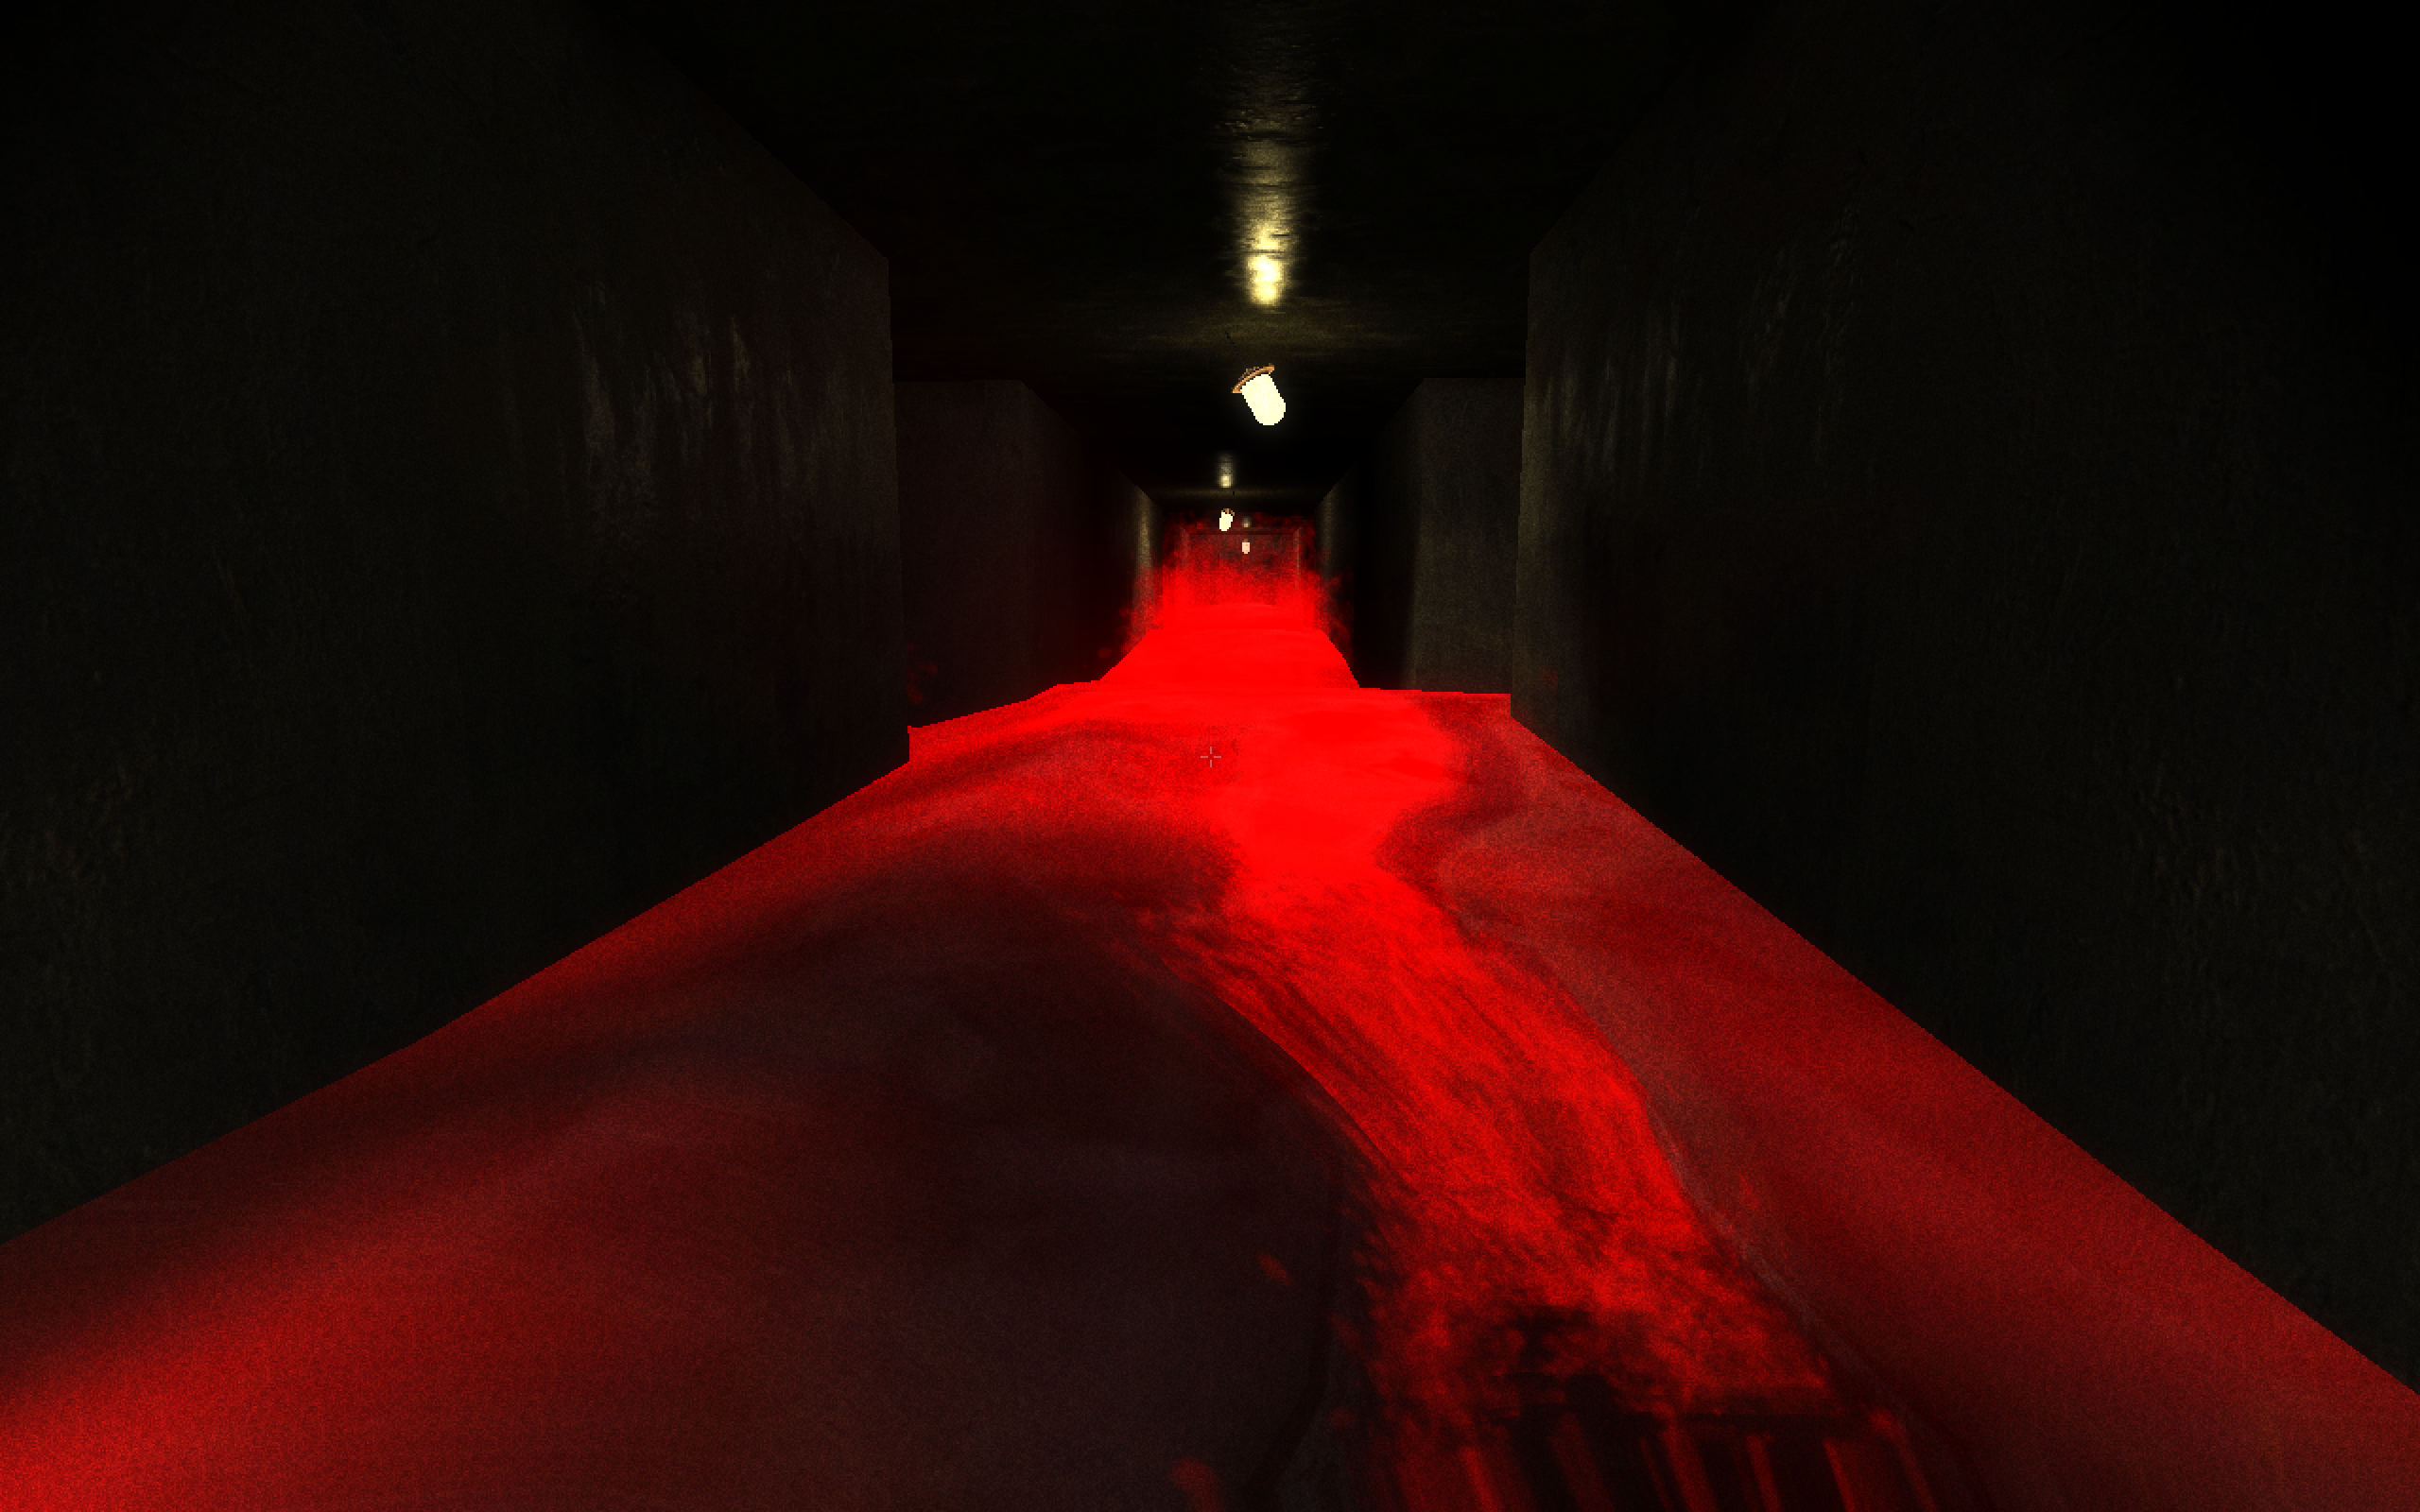

The Hotel is flooding
You wake up back in Room 307. Exit your room. If you noticed, Room 308 will be locked with chains and a baby crying can be heard from behind the door. All lights are also swinging, making the corridors look creepier than before. Your objectives are different based on whether you have collected the film reel in Night 5, or not.
If you didn't collect the film reel in Night 5[]
Continue towards the elevator to progress to the next level.
If you did collect the film reel in Night 5[]
Enter Room 306 to watch the second film. This time, the film shows the Tortured Soul coming from the elevator and going towards Room 306, the one you are in. It also enters Room 306 in the film. The lights are all swinging in the film, just like what is happening that time, giving you the impression that what you are watching is happening in real-time, just like watching live footage of a security camera. However, nothing is happening if you look outside. You can leave the room and go to the elevator.
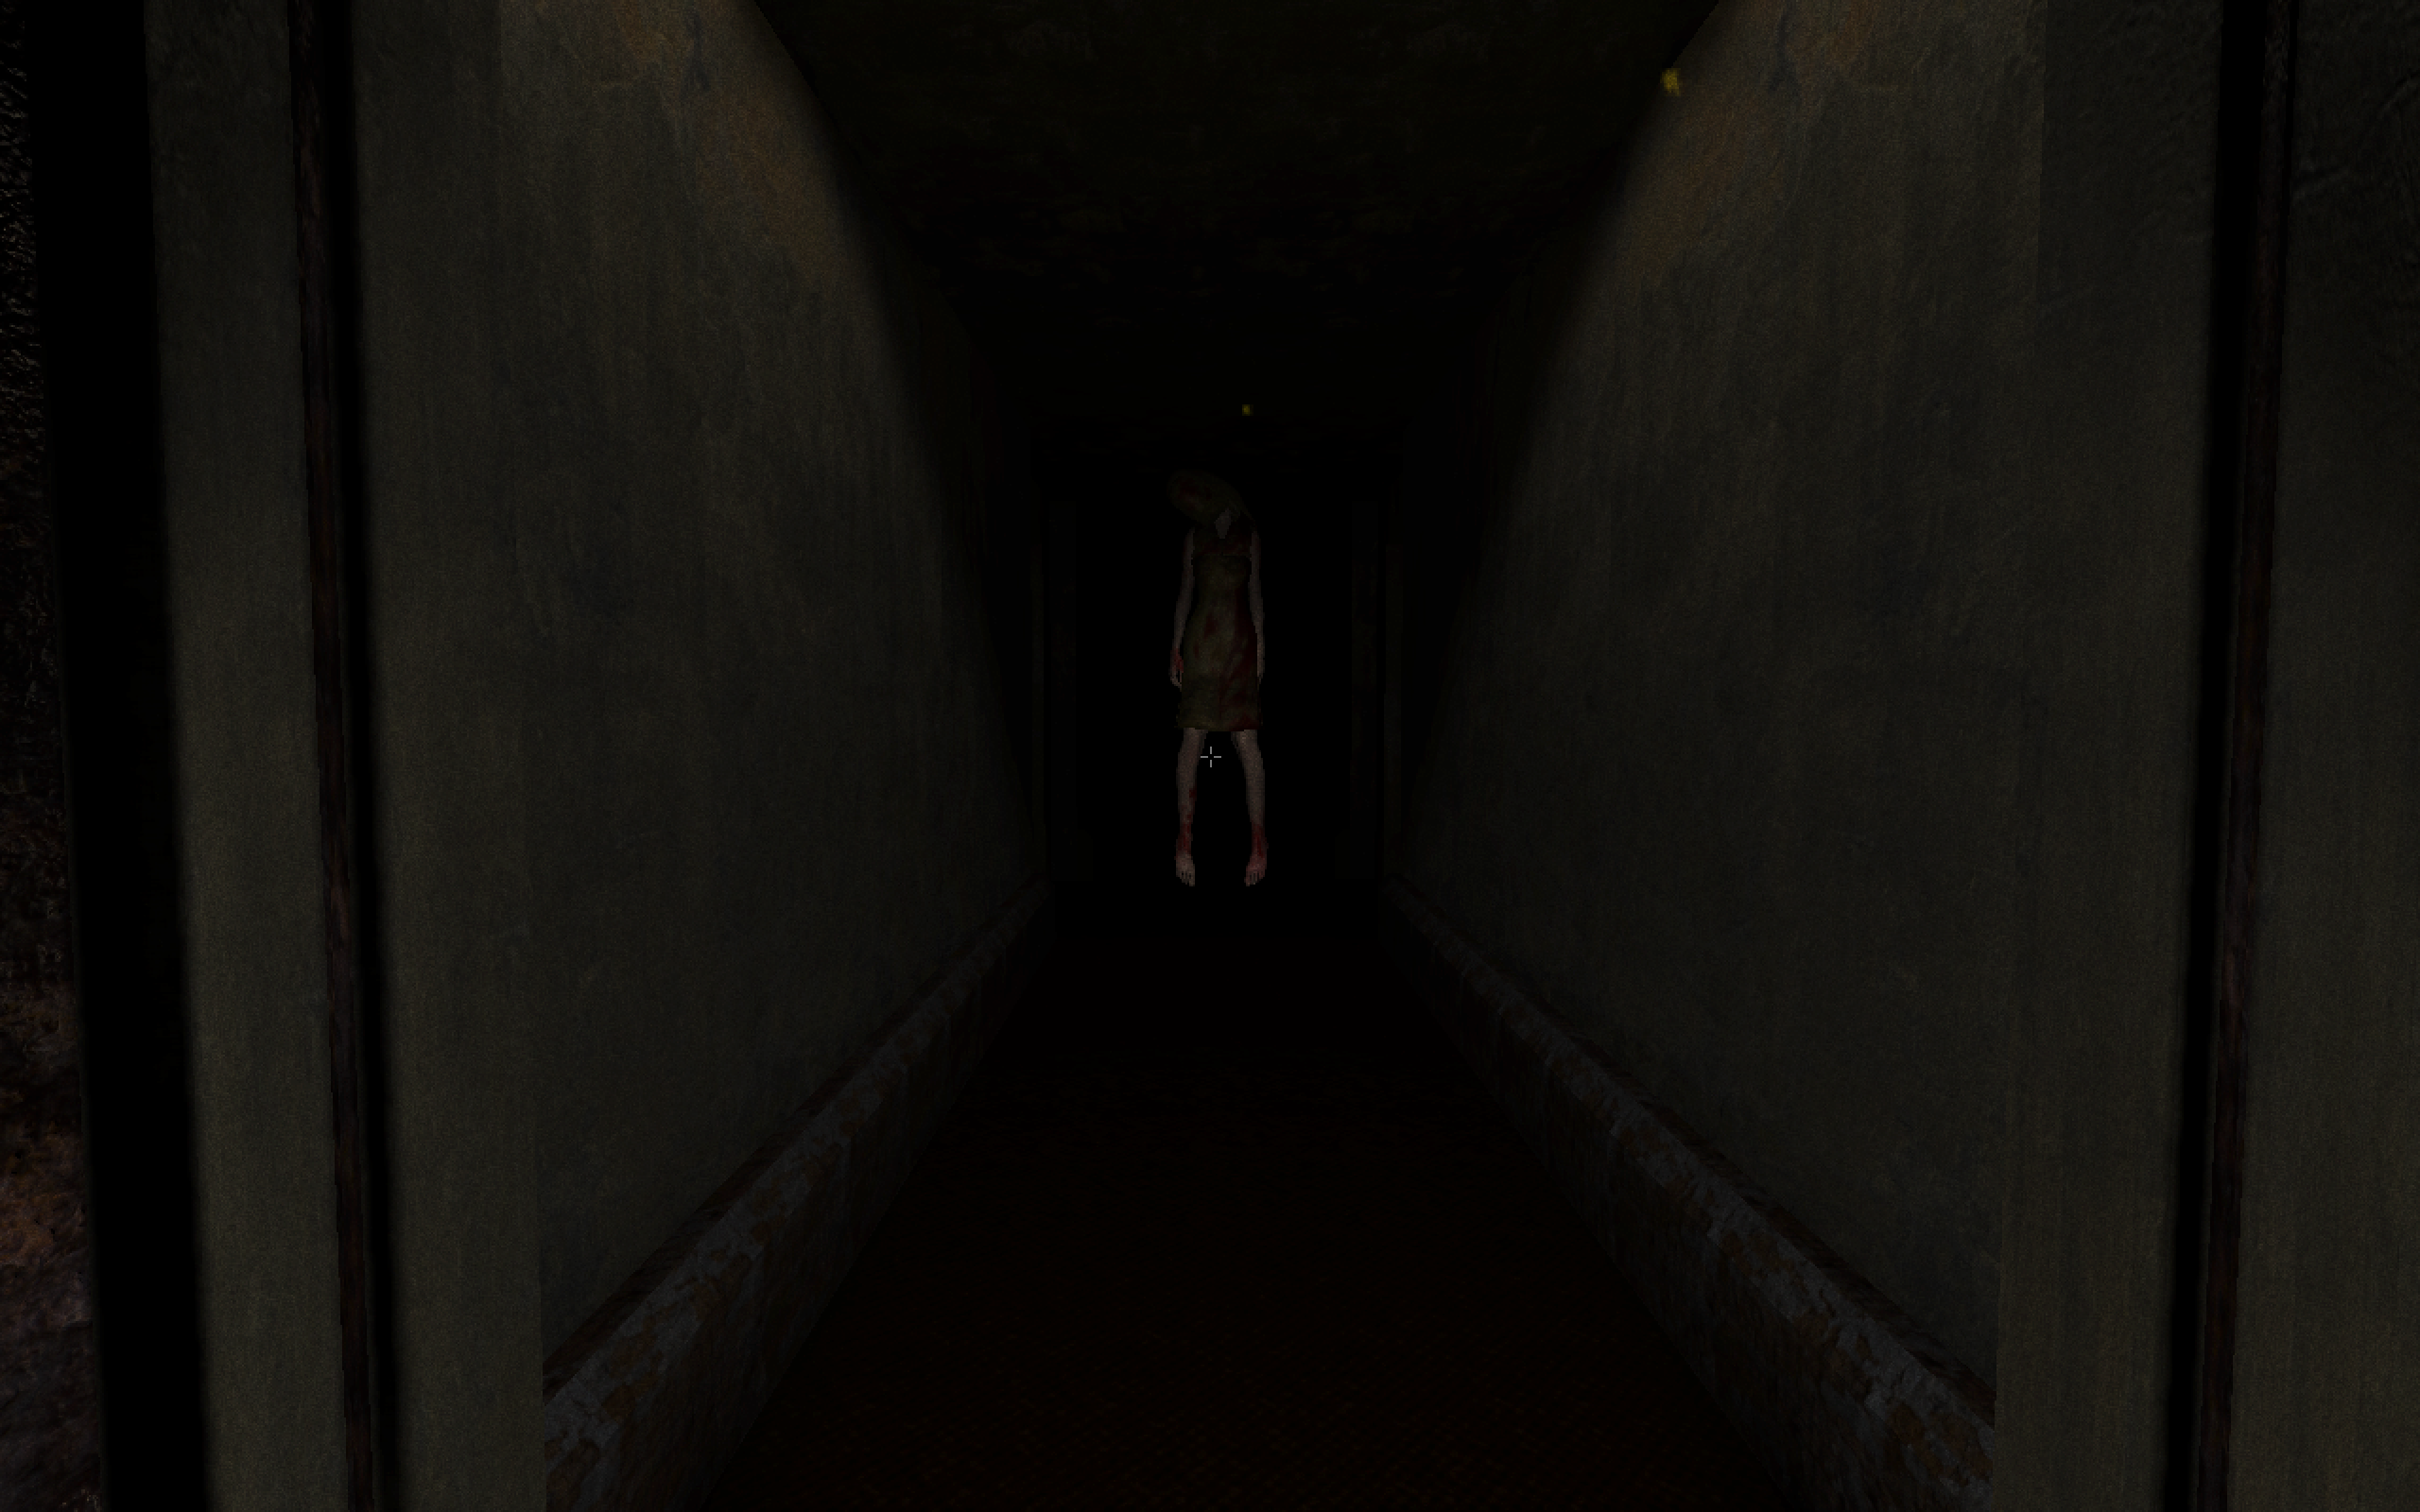
The Tortured Soul wants to follow you into the elevator.
When going to the elevator[]
Whether you collected the film reel or not, what happens on the way to the elevator is the same. Just before reaching the junction, laughs will be heard and blood will start coming out of the elevator, until the whole floor is flooded. After that, you wake up back in Room 307 again. There's no blood on the floor, or the walls, as if nothing happened before. Try going to the elevator again. The door closes, but the mechanism of the elevator stops working. After a while, the door reopens, without you being able to move and the Tortured Soul can be heard and seen in the distance coming towards your position, this time for real! After a short while, all lights are blown in an order, from farthest to closest to you and you can no longer see the Tortured Soul. Just after it comes very close to you, the elevator starts working again, going down this time, with the door still open.
Hell 1 / Night 6[]


This is how Hell Dungeons look like. There are even people built into the walls.
Hell dungeons are back and they are looking scarier and more disturbing than ever! Fire can be seen under the floor and people screaming can occasionally be heard in the background (this is the BGM in Nights 6 and 7). There’s no time limit this time, as Nights 6 and 7 are a little more like Nights 1, 2 and 3. Night 6 introduces several new enemies. These are the Fire Babies, the Flying Skull and the Crawling Demon (or Behemoth), the latter of which is not an actual threat. This time, it’s very likely Asmodeus is already free and he will spawn later, at a time when Mary isn't around (Mary and Asmodeus cannot wander the dungeon at the same time). All monsters can be encountered in Nights 6 and 7, except for the Tortured Soul. Chambers are full of skeletons and Dark Skeletons can be found it the centers of some chambers, or dead ends.
Nintendo Switch Version: Asmodeus seems to only spawn if he is freed from a chest in the same dungeon you are playing. If you don't happen to free him, you will never encounter him wandering.
Objectives:
- Find Mary’s arm (Required).
- Find and flip the switch.
- Find the Exit.
- An Optional Newspaper can also be collected.
Although there’s no time limit, it is advised not to spend too much time in there, because as time passes, more and more Fire Babies seem to spawn.
After Night 6 (Beginning of Night 7)[]

The Hotel is burning!
You wake up back in Room 307, having a strong desire to go back down to Hell. Smoke can be seen in the air. The retro TV is also already on and it shows Mary's face, looking like she watches you through the TV screen. It's not just your iea, the whole Hotel is burning literally! You can still go to the elevator and that's exactly what you have to do. Avoid the fire while walking towards the elevator. It still works and it will start going down a last time.
Hell 2 / Night 7[]
The final dungeon looks and works exactly like in Night 6. However, this time, one more hazard is added and that is Fire in hallways. Fire is nothing new when it comes to traps, but the dungeon of Night 7 is the only place it can come out of the floor in hallways. However, the spots from which fire can come out are very specific and not random. You need to pass through these spots at the right time to avoid the flames. Fire won’t appear in corners, or junctions, so, it’s safe to wait in a corner or junction to find the opportunity to continue, or heal, provided that you aren’t being chased by an enemy. Asmodeus is almost always already free by then. Mary will spawn in under a minute and once she findws you, she will be more persistent, thus chasing you for a significantly longer time until she eventually gives up and despaws. If you are sure she has disappeared, be ready to hear Asmodeus' footsteps, because he could very well be the next enemy to spawn.
Nintendo Switch Version: Mary seems to be much more persistent in this version in Night 7, and it seems impossible for her to give up chasing you, but it is in fact not. She will spawn in under a minute and will always hunt you and it is extremely hard for her to lose you. You need to be away from her for several minutes for her to give up and despawn. She will always be right behind you, no matter where you go. The best strategy is to close every door you open, so, you can tell where she is coming from when she tries to open a door. If you do manage to lose her, you will be able to tell because while opening doors or chests, the screen won't be vibrating. If you are sure she has disappeared, be ready to hear Asmodeus' footsteps, because he could very well be the next enemy to spawn.
Objectives:
- Find Mary's skull (Required)
- Find and flip the Elevator Switch
- Find the Exit to escape the dungeon once and for all!
- An Optional Newspaper can also be collected.
Overview[]
The following table shows some basic information about the specific Nights, how large are the maps, what monsters are present in them etc.
| Night | Average Number of Rooms (Approximate) | Artifact to Find | Skeletons | Mary | Ghost Girl | Tortured Soul | Dark Skeletons | Asmodeus | Fire Babies | Flying Skull | Crawling Demon | Time Limit |
|---|---|---|---|---|---|---|---|---|---|---|---|---|
| 0 | 2-4 | N/A | No | No | No | No | No | No | No | No | No | No |
| 1 | 11-13 | Room 313 Key | Yes | Yes | Yes | No | No | No | No | No | No (whisper only) | No |
| 2 | 12-14 | Room 304 Key | Yes | Yes | Yes | No | No | No | No | No | No (whisper only) | No |
| 3 | 12-14 | Room 311 Key | Yes | Yes | Yes | Yes | No | No | No | No | No (whisper only) | No |
| 4 | 13-15 | First Film Reel | Yes | Yes | Yes | Yes | Yes | Yes | No | No | No | Yes |
| 5 | 14-16 | Second Film Reel | Yes | Yes | Yes | Yes | Yes | Yes | No | No | No | Yes |
| 6 | 14-16 | Mary's Hand | Yes | Yes | Yes | No | Yes | Yes | Yes | Yes | Yes | No |
| 7 | 14-16 | Mary's Skull | Yes | Yes | Yes | No | Yes | Yes | Yes | Yes | Yes | No |
| Challenge Chamber | 1 | N/A | Yes | No | Yes | No | Yes | No | No | No | No | No |
Endings (Spoiler Warning!)[]
Bad Ending[]


If you didn't collect all 7 Optional Newspapers and both film reels, you will get the bad ending. You wake up in a cage, in a place flooded with blood. There are more cages like yours around. Mary is in a cage next to you. Fire is coming from the floor inside each cage. When it's your turn, you will burn to death and after that, Room 308 will be seen locked with chains. This, together with the on-screen messages imply that this was happening inside that very room (308). Mary seems to be the one talking to you and you will spend the eternity in Room 308, burning again and again, just like she is cursed to do so.
Nintendo Switch version: In this version, Mary won't be inside another cage, but right out of your cage. It's not known whether this is an intentional change that has a great impact on the lore, or not.
True Ending[]


If you did collect all 7 Optional Newspapers and both film reels, you will get the true ending. The elevator will take you from Hell to a dark place, with an "Exit" sign and a map nearby. This is a subway station. Your destination is "Green Fields" and the station you are in is called "Room 307". The teddy bear is sitting in a bench, next to the elevator. The exit is sealed, so, instead continue down the stairs, until you reach the actual station. A train will come and stop there. Board the train. You can't go inside, stay where you are and observe what will happen. Music starts playing. You can see a nice view and the sun rising. Wait until the train reaches the next station, which is "Green Fields". Get off the train after it stops and walk up the stairs. The map of this station is identical to the previous one, with the only differences being the map stating that you are in Green Fields, the bench being empty without a teddy bear sitting and obviously you can't use the elevator. The Exit is open. Go up these stairs and you'll be outside, looking at a house. This is identical to the house, which was burning in the first film (the one you aquired in Night 4). Your character reacts upon seeing it intact "It can't be...". And the game ends there. This seems to be the house the story of Ergastulum: Dungeon Nightmares III takes place.
Challenge Chamber (PC/Mac only)[]

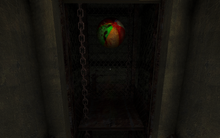
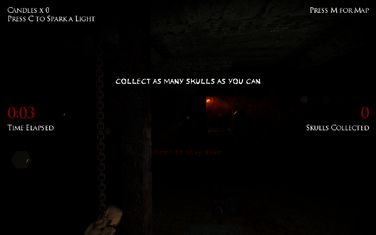
In the PC/Mac version, after finishing the main game, regardless of which ending you got, the Challenge Chamber will be unlocked and can be selected from the main menu. This is a mini-game (not part of the main game), which works like an arcade. You end up in a huge square-shaped chamber full of traps, bottomless pits and Dark Skeletons. Where and what the traps will be is random and different each time. There are also regular Skeletons in the chamber, standing near walls. Additionally, the Ghost Girl occasionally appears and paintings can be found on the walls. In this mini-game, you are supposed to carefully navigate your way and collect as many skulls as you can, while avoiding the hazards of the chamber, until you eventually lose the game. Skulls spawn at random places and produce a strong light blue light and can be seen all the way from the other side of the dungeon. Hurry, as they won’t stay there for long. Just before they disappear, their color changes to red. Usually, one skull appears at a time. Sometimes though, they can appear in triads. Triads produce an unstable color, which changes all the time and they will stay there for about half the time. As time passes, more and more Dark Skeletons awaken. They also get stronger as you collect more skulls. For each 5 skulls you collect, Dark Skeletons change color and move faster, making it easier for them to catch up to you once they spot you. They are also stronger, as once you have 5 skulls or more, Dark Skeletons can kill you with one hit (if you have fewer than 5 skulls, they need to hit you twice to kill you).
| Number of skulls collected | Color of Dark Skeletons | Hits to kill the player |
|---|---|---|
| 0-4 | Orange (like in the main game) | 2 |
| 5-9 | Purple | 1 |
| 10-14 | Green | 1 |
| 15-19 | Blue | 1 |
| 20-24 | Yellow | 1 |
| 25-29 | Light blue | 1 |
| 30-34 | Pink | 1 |
| 35-39 | Light green | 1 |
| 40-44 | Dark blue | 1 |
| 45-49 | Golden | 1 |
| 50+ | Magenta | 1 |
Sparking the lighter in front of a Dark Skeleton will instantly defeat it, unless that Dark Skeleton is the first appearing after 10, 20, 30 (10*N) skulls are collected. When that happens, a message appears on-screen "A GREATER EVIL HAS ENTERED THE DUNGEON" and that evil is an overpowered Dark Skeleton, which dies after sparking in front of it twice (with a cooldown in between) and not once!
However, be careful of regular skeletons, because some of them will react after you spark and move closer to you. Don't spark when not necessary.